A remote starter is a wonderful piece of technology that makes your life easier and more convenient. Having a remote start system in your vehicle allows you to warm your car up in the winter from the comfort of your home and cool it down in the summer. Whatever the conditions, your car will be comfortable and ready to drive when you are.
However, if your vehicle didn’t come with a remote start system installed by the factory, you’re not out of luck because there are a variety of remote systems available with as many features as you could want and at a price to fit nearly any budget.
But how hard are they to install and what does it take?
Read on to find out!
Depending on the remote start system you purchase, you can either opt to do the remote start installation yourself or have a professional do it for you. Some of the higher end systems are complicated and are best left to the professionals, but if you’re handy and can follow basic wiring instructions, you should be able to tackle the job yourself.
Get A Compatible Starter
It should go without saying, but the first thing to do is to make sure the starter you’re purchasing is compatible with your vehicle. If you’re not sure, or if the package doesn’t specify, contact the manufacturer. Also, if your vehicle has an anti-theft system or keyless entry, make sure the device you’re choosing is compatible with those features as well. If it’s not fully compatible, there’s good news and bad news for you. The good news is that most aftermarket systems have bypass modules that will make them compatible with your anti-theft system, but the bad news is those modules come at an additional expense.
Make Sure You Understand The Instructions
Now that you’ve purchased a remote start system that’s compatible with your vehicle, it’s time to begin the process of installation. It’s essential you read through the instructions and makes sure you understand them. Most remote start systems from reputable manufacturers come with easy to read and understand instructions, but if your unit doesn’t come with directions, see if they’re available online.
If there’s something that’s not clear or something you don’t understand, ask a professional for help before you tear your wiring apart and realize you don’t know what you’re doing.
Get A Wiring Diagram
Also essential is getting the wiring diagram for your vehicle. Most vehicles don’t come with this information in the user’s manual, so you’ll have to get it online or at your local auto parts store.

Prep the Vehicle
Now that you’re ready to begin the installation process, it’s time to prepare the vehicle by disconnecting the battery from the negative terminal to reduce the chance you’ll get shocked. Remove all the panels from the wiring boxes and the steering column to gain access to the wires. Get all the necessary tools together and have them within easy reach so you don’t forget where you are if you have to go searching for the right screwdriver.
Mark Your Wires
Depending on the features you’re installing, you have to mark the wires needed for each feature so you know which ones to connect. Once you’ve marked the right wires, trim them so that you have about 4 inches of available wire to connect them. Once the wires are marked and trimmed, strip the edges with wire strippers. It’s recommended you solder the wires together to ensure you get a solid connection that will hold better than if you used electrical tape.
Mark A Spot For The Main Unit
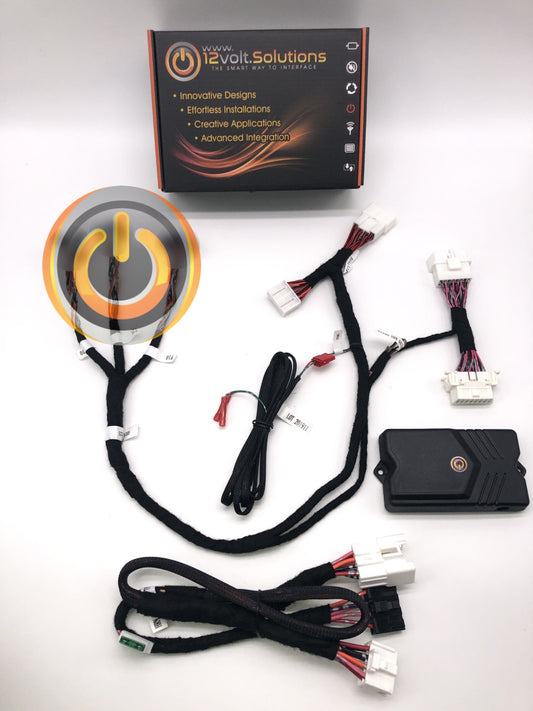
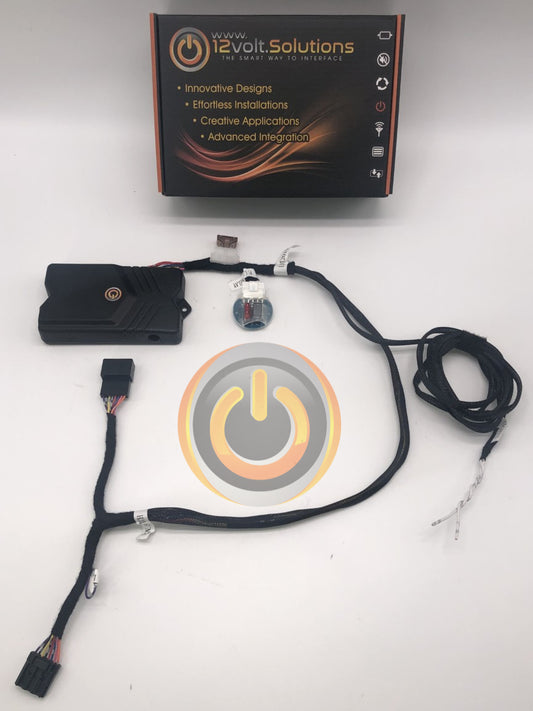
The main unit or operating module should be placed in a secure spot in the vehicle, usually somewhere out of sight. Most people opt to put this module under the steering wheel, but you can mount it anywhere under the dash where there’s room or even in the glove compartment.
Connect & Test
Once you have all the wiring done, and you’ve installed the main module in a safe location, it’s time to test all of the vehicle’s electrical functions such as the radio, horn, lights, fans, etc. Once you’ve determined all of the electrical systems are functioning properly, test the remote starter.
It’s advised you drive your car in a safe place and operate all of the electrical systems to ensure everything is functioning normally, before you take it out on the road for ‘real.’
Having a remote start system is not only convenient in bad weather, but it can make you safer too. Installing one in a vehicle is a challenge, for sure, but if you can follow directions, and pay attention to the details, you should be able to do it in an afternoon.
